As a supplier of single fire pumps, I understand the importance of properly installing and adjusting the flow switch for these crucial safety devices. A well - installed and adjusted flow switch ensures that the fire pump operates effectively when needed, providing reliable water flow to suppress fires. In this blog post, I'll guide you through the process of installing and adjusting the flow switch of a single fire pump.
Understanding the Flow Switch
Before we dive into the installation and adjustment process, it's essential to understand what a flow switch is and its role in a single fire pump system. A flow switch is a device that detects the flow of water in a pipe. In the context of a fire pump, it serves as a trigger mechanism. When a certain flow rate is reached, the flow switch sends a signal to start the fire pump, ensuring that water is quickly delivered to the fire - fighting system.
Tools and Materials Required
To install and adjust the flow switch of a single fire pump, you'll need the following tools and materials:
- Tools: Screwdriver set (both flat - head and Phillips), adjustable wrench, pipe cutter, pipe thread sealant, electrical tester, and a pressure gauge.
- Materials: Flow switch, mounting brackets, electrical wires, and connectors.
Installation Process
Step 1: Select the Right Location
The first step in installing the flow switch is to choose an appropriate location. The flow switch should be installed in a section of the pipe where the flow is stable and representative of the overall water flow in the system. Avoid areas near elbows, valves, or other flow - disturbing elements. A straight section of pipe, at least 10 pipe diameters upstream and 5 pipe diameters downstream of the flow switch, is ideal.
Step 2: Prepare the Pipe
Once you've selected the location, prepare the pipe for the installation of the flow switch. Use a pipe cutter to cut the pipe at the chosen location. Make sure the cut is clean and straight. Then, use a pipe thread sealant on the pipe threads to prevent leaks.
Step 3: Mount the Flow Switch
Mount the flow switch onto the pipe using the provided mounting brackets. Ensure that the flow switch is securely attached and properly aligned with the flow direction. The arrow on the flow switch body indicates the correct flow direction.
Step 4: Connect the Electrical Wires
Connect the electrical wires to the flow switch according to the manufacturer's instructions. Use the appropriate connectors to ensure a secure and reliable electrical connection. Before making any electrical connections, use an electrical tester to ensure that the power is off.
Step 5: Test the Installation
After the flow switch is installed and the electrical connections are made, test the installation. Turn on the water supply and check for any leaks around the flow switch. Use a pressure gauge to measure the pressure and flow rate in the pipe. The flow switch should activate when the pre - set flow rate is reached.
Adjustment Process
Step 1: Determine the Setpoint
The setpoint of the flow switch is the flow rate at which it will activate. This setpoint should be determined based on the requirements of the fire - fighting system. Consult the system design documents or a fire protection engineer to determine the appropriate setpoint.
Step 2: Adjust the Flow Switch
Most flow switches have an adjustable setpoint. To adjust the setpoint, refer to the manufacturer's instructions. In general, you'll need to loosen a locking nut and turn an adjustment screw to increase or decrease the setpoint. Make small adjustments and test the flow switch after each adjustment to ensure that it activates at the desired flow rate.
Step 3: Calibrate the Flow Switch
Once the setpoint is adjusted, calibrate the flow switch. This involves comparing the actual flow rate in the pipe with the reading on the flow switch. Use a calibrated flow meter to measure the actual flow rate. If there is a significant difference between the actual flow rate and the reading on the flow switch, further adjustment may be required.
Troubleshooting
Even with proper installation and adjustment, issues may arise with the flow switch. Here are some common problems and their solutions:
Problem 1: Flow Switch Does Not Activate
- Possible Causes: Incorrect setpoint, electrical connection problems, or a faulty flow switch.
- Solutions: Check the setpoint and adjust it if necessary. Inspect the electrical connections and ensure that they are secure. If the flow switch is still not activating, test it with an electrical tester or replace it if it is found to be faulty.
Problem 2: Flow Switch Activates Too Early or Too Late
- Possible Causes: Incorrect setpoint adjustment, flow disturbances in the pipe, or a damaged flow switch.
- Solutions: Re - adjust the setpoint to the correct value. Check the pipe for any flow - disturbing elements and correct them if necessary. If the flow switch is damaged, replace it.
Importance of Regular Maintenance
Regular maintenance of the flow switch is crucial to ensure its proper operation. Inspect the flow switch periodically for any signs of damage, corrosion, or leaks. Clean the flow switch to remove any debris or dirt that may affect its performance. Test the flow switch at least once a year to ensure that it is still functioning correctly.
Different Types of Single Fire Pumps
As a single fire pump supplier, we offer a variety of single fire pumps to meet different needs. For example, the Vertical Single Stage Fire Pump is a popular choice for many applications. It has a compact design and is suitable for installations where space is limited.

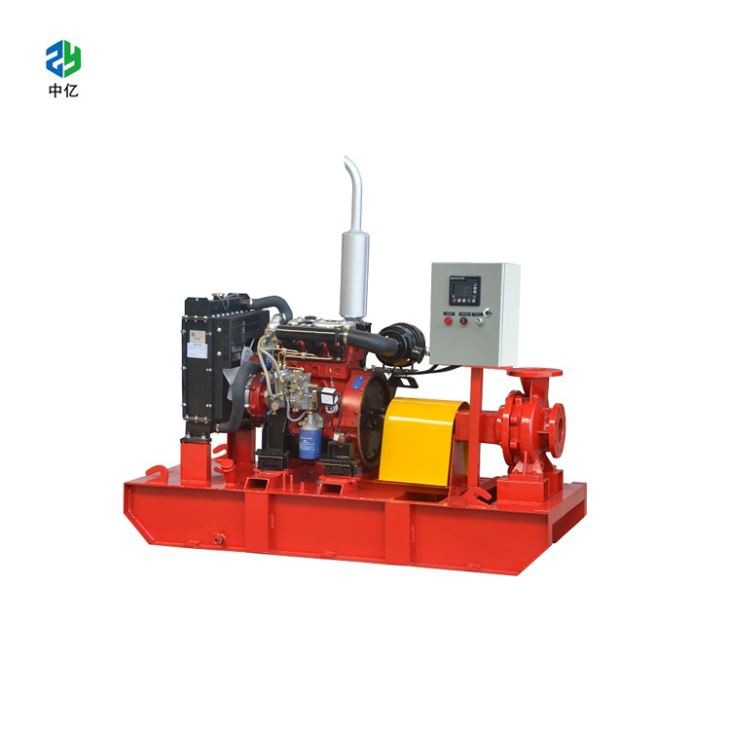
Another option is the Diesel Driven Fire Pump. This type of fire pump is ideal for areas where a reliable power supply is not available. It can operate independently of the electrical grid, providing a backup power source for the fire - fighting system.
The Fire Pump Diesel Engine is an important component of the diesel - driven fire pump system. It provides the power needed to drive the pump and ensure a continuous water supply.
Conclusion
Installing and adjusting the flow switch of a single fire pump is a critical process that requires careful attention to detail. By following the steps outlined in this blog post, you can ensure that your fire pump system operates effectively and reliably. Remember to choose the right location for the flow switch, prepare the pipe properly, and make accurate adjustments to the setpoint. Regular maintenance is also essential to keep the flow switch in good working condition.
If you're in the market for a single fire pump or need further assistance with the installation and adjustment of the flow switch, don't hesitate to contact us. Our team of experts is ready to provide you with the best solutions for your fire - protection needs.
References
- NFPA 20: Standard for the Installation of Stationary Pumps for Fire Protection
- Manufacturer's installation and operation manuals for flow switches and single fire pumps